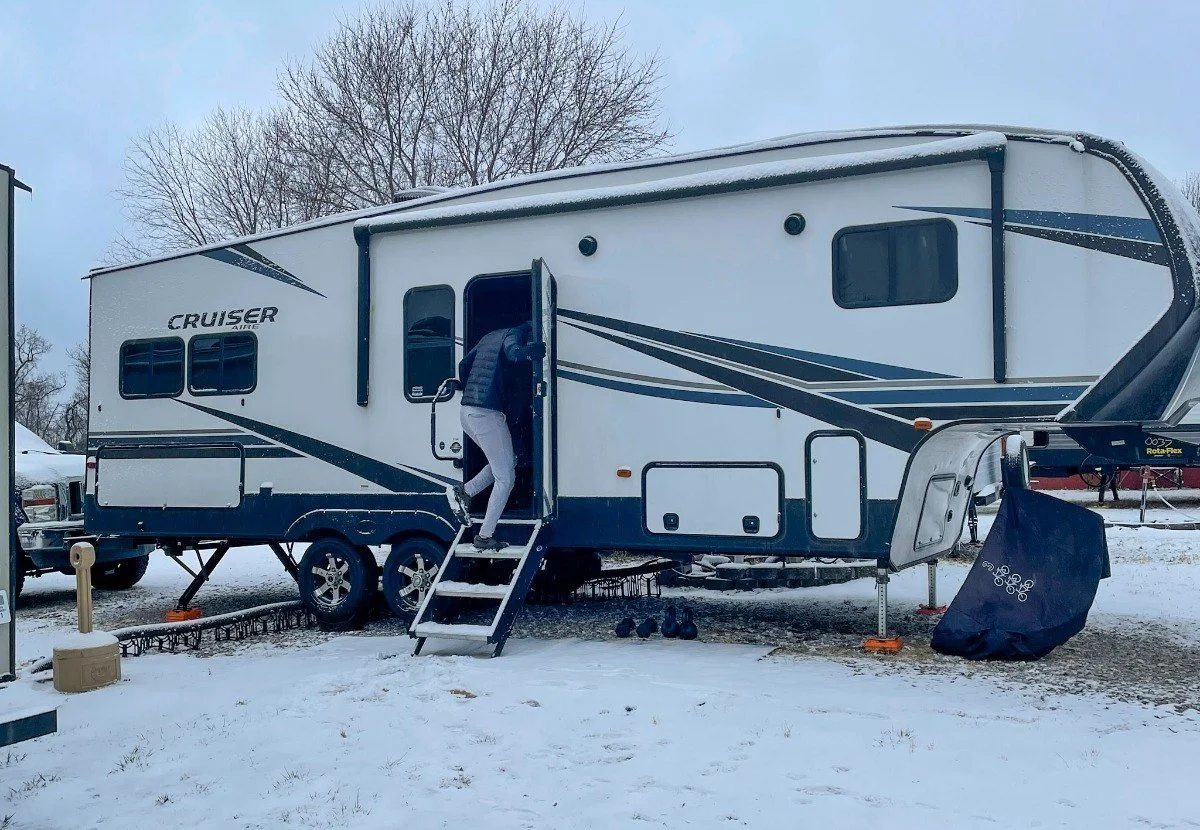
Winter RV camping isn’t always the easiest time of year, but sometimes cold weather can come out of nowhere, especially when you are up in the mountains.
We learned during our first month living in an RV full-time how to prevent our pipes from freezing while camping in Yellowstone when it dropped to 30°F (-1 C) in mid-July.
The first couple of cold nights that you spend living in your RV might be nerve-racking or uncomfortable, but you will quickly learn simple steps to prepare your RV for winter weather and freezing temperatures.
We use affiliate links and may receive a small commission on purchases at no extra cost to you.

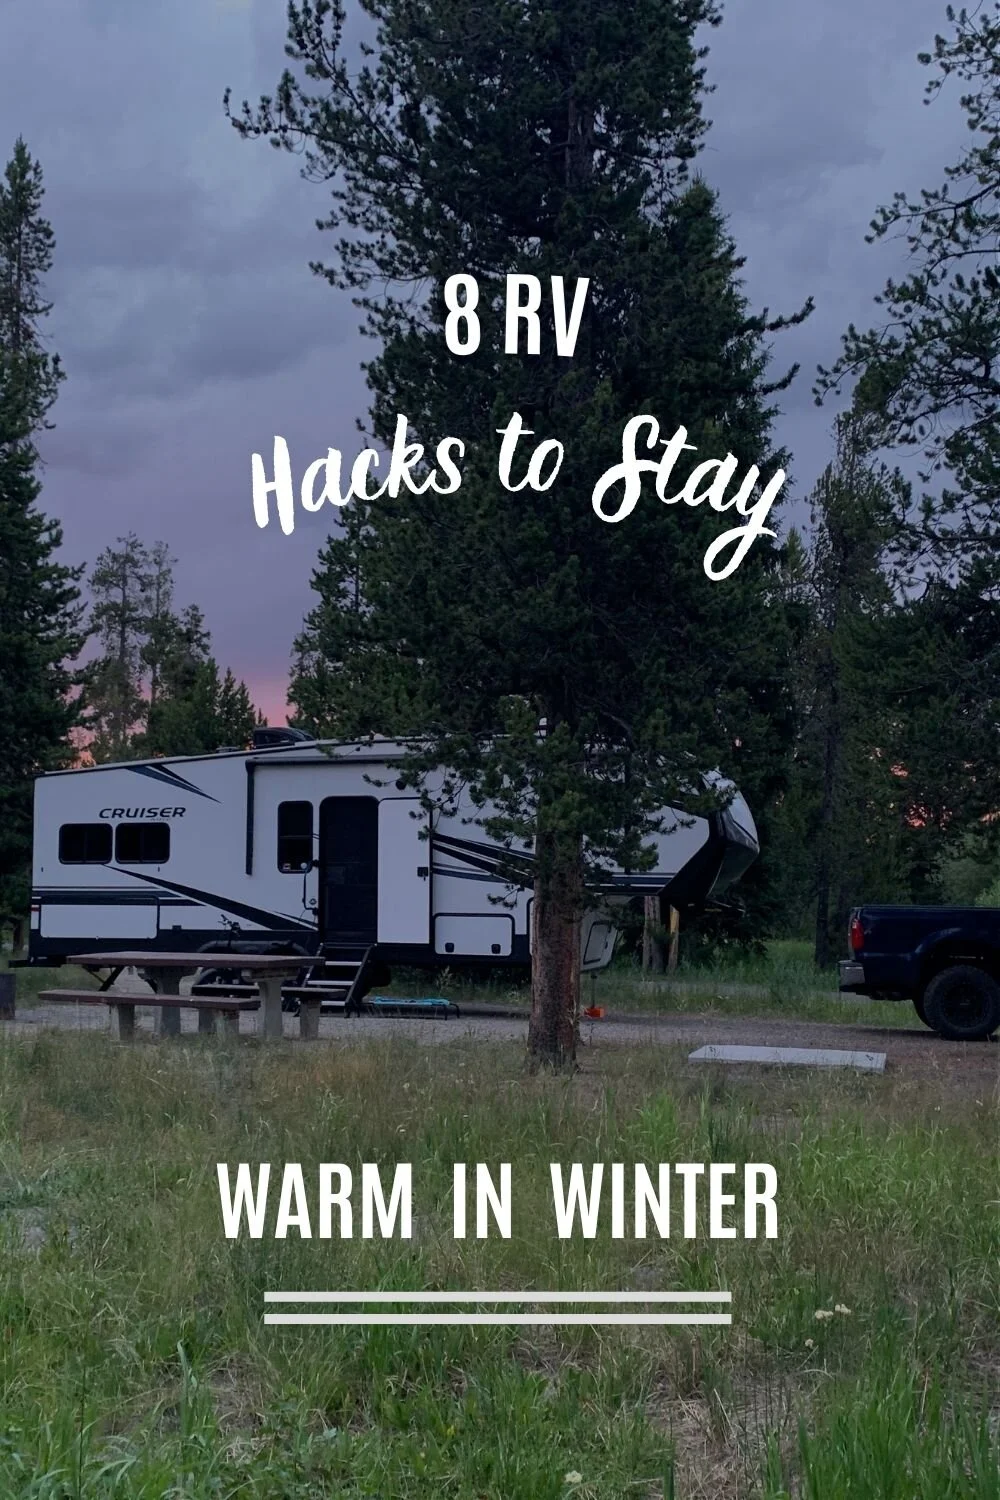
Tips for Winter RV Living:
-
Use Heat Pads (water tanks, batteries)
Below we will expand on these tips to keep your RV warm for an unexpected cold night of camping or if you plan to live in your camper full-time this winter season.
Living in an RV in the Winter
Just know, that it is possible to live in an RV during winter, you just need to make sure you take the steps to properly prepare for cold temperatures, especially those living where it will get into sub-zero temperatures.
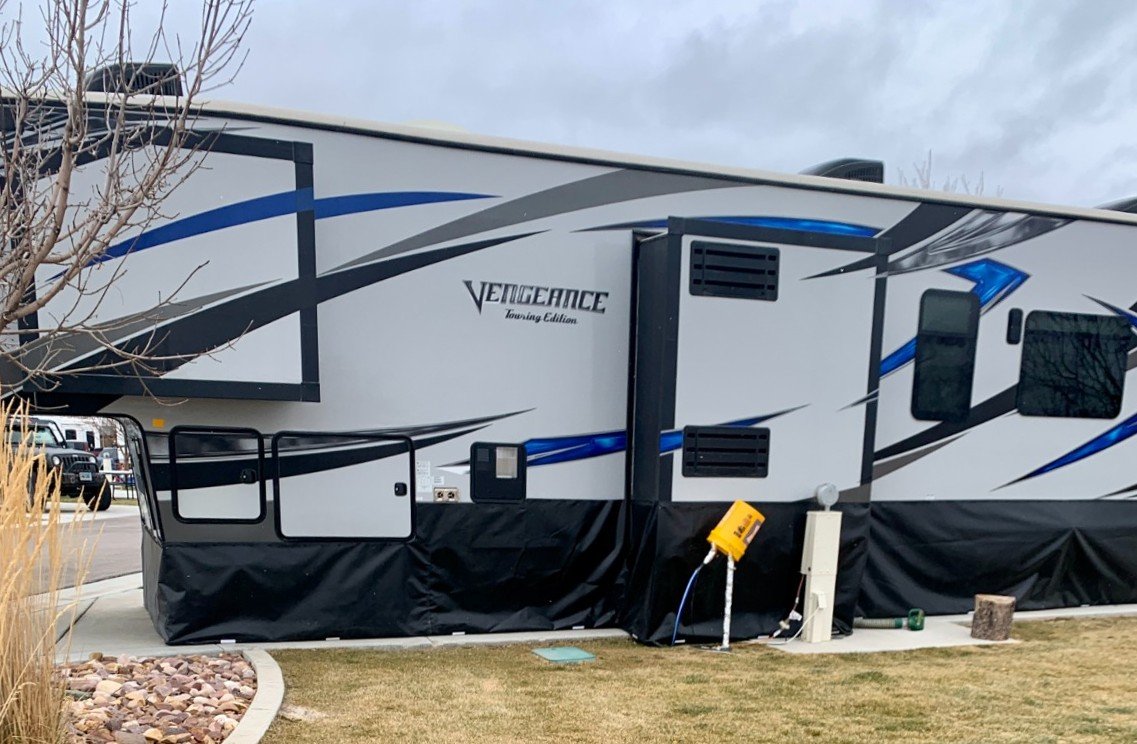
If you are planning on spending a full winter in freezing temperatures, you will want to consider larger modifications to your RV such as skirting and heat pads for tanks.
Despite the marketing sticker on the outside of your RV saying something like “Extreme Weather Package”, or “Four-Season RV”, very few RVs are ready for freezing temperatures and none are going to be prepared for camping during an entire snowy winter season.
You’re going to want to make sure you’re camping at an established campground or RV park that has full hookups. Preferably ones that have bathrooms and showers as well, just in case your pipes do end up freezing. Trust us, it happens.
Having an electrical hook-up allows you to consistently run a space heater and electric tank warmers.
And, having water and sewer hookups are beneficial because you can drip your faucets without worrying about water conservation.
Pro Tip – Park your RV where it can get full sun during the day
Whether or not you want to run the city water during winter, you’re still going to want to fill your fresh water tank completely.
There have been plenty of nights at our RV park where the entire park had to disconnect from the city water because a pipe burst or they were just trying to prevent a pipe burst.
You want to fill the freshwater tank completely because the more water in there, the less chance it has at freezing over.
If we’re camping in freezing temperatures for less than two weeks, we usually just use our water pump the entire time.
If we do a month or longer at an RV park, we opt for the heated water hose as most RV parks will require this anyways if you are connected to the city water.

Moving water takes much longer to freeze than static water, so keeping the water lines moving even a little can save you from frozen pipes.
If the weather forecast shows lows below 20 F (-7 C), we drip our faucets overnight, even with having a fully enclosed underbelly.
If you are concerned about wasting water, put a pitcher in the sink to collect the drips. I know that the dripping noise can get annoying, but it is much better than having your pipes freeze.
Pro Tip – Open up any cabinets or interior access panels with water pipes in them (ie- sink cabinets)
Cabinets often back up directly to exterior walls, so they can get very cold if direct sunlight or the heat vents can’t reach them.
Additionally, for any indoor or outdoor pipes that run along the outer walls of your RV or cannot get as much heat to them, you can wrap them in insulated heat tape.
-
Pour RV anti-freeze down sinks and toilet
-
Keep grey and black tanks closed off until full

I know most people like being able to keep their grey and black tanks open when camped with full hookups, but unless you have legit tank heating pads, you’re going to want to keep them closed during freezing temperatures.
Once it starts dropping below freezing at night, we remove our stinky slinky (sewer hose) and close off both the black and grey tanks.
Then, we add the recommended amount of RV anti-freeze down our sinks for the grey tanks (we have 2) and down the toilet for the black tank.
We keep these tanks closed until they get full and then drain them like we would if we were dry camping. Right after we drain them, we add the RV anti-freeze again down the sink and toilet.
You have to use your onboard RV propane heater during freezing temperatures so your pipes don’t freeze.
Electric space heaters can heat the inside of the RV very well, but they don’t heat the underbelly which is home to your water holding tanks and a lot of plumbing lines.
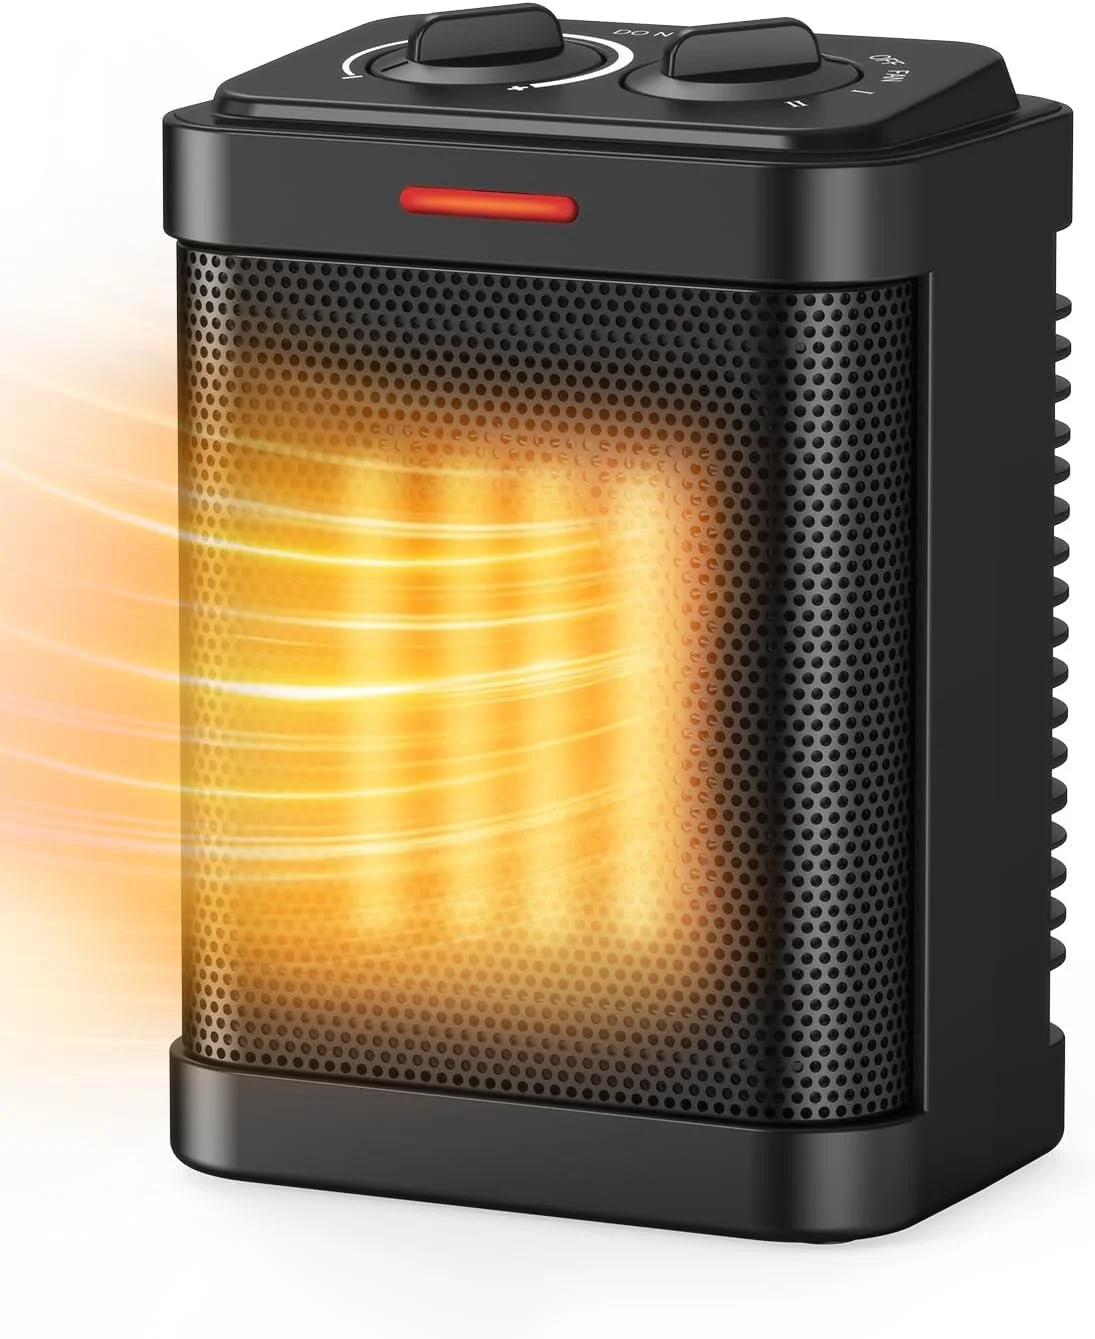
Now to help keep the inside extra warm, plan on using electric space heaters.
We buy smaller space heaters since they usually use such a high wattage and your RV or electrical system may not be large enough to power a 1500-2000 watt space heater along with the RV furnace, TV, air fryer, and anything else you might have running.
I specifically like this tiny 500-watt electric heater for our small bedroom and this 1000-watt electric heater for the living area.
Keep in mind that electric heaters may trick your thermostat into thinking it’s warm enough, which it may be on the inside, but you still want the furnace to run and warm up the underbelly.
Pro Tip – If you plan to full-time this winter, most RV parks will allow you to rent a larger propane tank so you don’t have to worry about refilling it as often.

One of the easiest ways to prevent heat loss is to cover your roof vents with these incredible RV Vent Covers. In Summer, you can also flip the cover over to reflect the heat.
While double-pane windows in your RV are noticeably better, condensation will still occur and they’ll be an easy entry for cold air.
If you’re planning on RVing the entire winter season, I’d recommend adding insulation to your RV windows, or at least the larger windows.
The good news, it’s very easy to add this foam core insulation. Just cut it to size and use the included tape to keep it in place. I just put the shades down over the insulation or use thermal curtains to cover the eyesore of Reflectix.
Knowing you’re going to encounter snow and ice over winter, there are some things you can do to prepare before those conditions arise.
-
Cover those slick RV steps with a durable carpet
-
Make sure there is no water leaking below your RV, out of any drain pipes and there isn’t any water sitting in your under storage.
-
Cover the water spigot with a 5-gallon bucket to prevent icy/snow build-up on top
-
Put a foam pipe around the water spigot
-
Keep your RV awning in
-
Cover your tires (if not skirting)
-
Check your seals (roof, slides, windows)
-
Buy an RV skirt
-
Use foam board
Most new RVs come with a “fully enclosed” underbelly now, but that doesn’t help as much as you’d think during colder temperatures. And one of the biggest sources of heat loss is the large open space under your RV.
With that said, I only recommend skirting your RV if you are staying in an RV park the entire winter season or if you are going to be in below-freezing temperatures for over a week.
The reason I don’t recommend taking this step lightly is because it does require a fair amount of work. It’s not hard, but it is a process.
For those going to full-time more than one winter season, you definitely should consider investing in a proper RV skirt as they not only look very nice, but they are fitted specifically for your RV and will trap heat in the best.

If you are only doing one winter season of living in your RV, then you can go the less flattering, but also least expensive route by using foam board insulation.
You can pick up foam board at most hardware stores and cut it to size around your RV. You can use duct tape to adhere the foam board in place. Some also use sandbags until it snows, to help keep the foam in place as well.
Read next — 7 Best Travel Trailers to Buy in 2024
For those with RVers who truly come with the 4-season winter package, you probably already have electric heating pads on your RV holding tanks.
But if not, and you’re having trouble keeping your holding tanks (fresh, grey, black water) from freezing, you can add aftermarket electric heating pads.
The heating pads have an adhesive that directly attaches to your holding tanks (one for every 50-gallon tank) and has a built-in thermostat that is set to turn itself on at 45°F and off at 68°F.
Very important — keep your RV batteries from being ruined by the cold!
The upkeep on your batteries will depend on whether you have a towable or drivable RV, and whether you have AGM batteries or lithium batteries.
I recommend reading your owner’s manual and inquiring specifically about your RV and batteries on the best way to prevent them from being ruined by the cold weather.
Personally, we have a fifth wheel and use Battleborn lithium batteries. While very expensive, these batteries have a built-in battery monitor and shut off when it gets too cold for them to properly charge and they can be drained down to 0% without any damage (unlike AGM batteries).
Water is typically the biggest enemy to RVs, and during winter this can be exceptionally true. When you run your RV furnace, it inherently allows moisture to build up through common places like condensation on the windows.
And because you aren’t opening windows or running fans during colder months, that gives moisture the upper hand in your RV.
An easy way to reduce the humidity and moisture in your RV is by running a dehumidifier once a day and then putting a moisture absorber bucket in tight or confined spaces around the RV.
Additionally, when taking a shower in your RV, remove the vent cover and run the vent fan to allow the moisture to escape quickly. Or if you’re cooking on the stove, run the vent fan and/or crack a small window.
Supplies – RV Winter Living


Bonus Tip — Drive South!
If none of the tips above are working for you, drive south until you find warm weather. Florida, Arizona, and Mexico are popular winter spots for RVers trying to escape the cold.
While some snow and crisp mornings can be nice, full-time RVing in the winter can be tiring.
Luckily, this lifestyle allows us to be mobile and follow the good weather. After spending the first part of the winter in Utah, we fled to Arizona; and the warm sunshine never felt so good!
more RV Tips —


pin it —


I am another vote for letting the faucets drip. Last fall we camped out when it got down to 18 deg F two nights in a row. Our camper froze up both nights. My daughter’s $100,000 rig froze up the first night but she let the water drip all night the second night and did not freeze up. They have an onboard gas generator. My rope start generator died the second night and I could not get it started and was afraid the battery might discharge overnight so I did not let the water drip.
Yes, we always let our faucets drip now. It’s just better to be safe than sorry. And trust me, we’ve been sorry way more times than we’d like with freezing pipes.
2010 keystone sprinter 36 FOOT winterizing for temperatures below 0 degrees. For full-time winter living. Help never did this before
Hi Jim, We just updated this post to include more tips for those who plan to full-time in their RV during winter. Hope this helps!